I remembered one of my client bought a terrarium and call it the "lazy man's plant" because you only need to spray water once a month. hah!
Guess what. This artificial terrarium is Velle's lazy plant!!! It totally needs no watering and caring at all. Don't even need to put it in a shady or with moderate daylight area. You can even store it in the wardrobe or cupboard when you get tired of it.
I was at Daiso Vivocity on Friday for dinner and I happened to chance upon these cute plastic animals which the shop was selling. Sharing is caring...so here are where I bought all my stuff to do an artificial terrarium.
bag full of pebbles - daiso
artifical cactus - daiso
animals - daiso
glass jar - ikea
my son Jules loves it to bits and insisted that this to be put next to his bed. crazy. I'm just going to place it above my cupboard....
Showing posts with label home made. Show all posts
Saturday, October 22, 2016
Sunday, January 31, 2016
Home@Stirling - Home made cookies
Jules helped me to make the cookies!
As a 'reward' for going to school, I promised Jules that we can make cookies together this weekend and he has been looking forward to this day!!! Although most of the work was done by me but he helped to melt the butter and sift the flour. It was a quick but enjoyable bonding experience we both had. Cookies baked real fast like 15mins and the prep time is approx 15mins too! So in half an hour I had 2 trays of freshly hot baked cookies from the oven.
So parents! When are u gg to bake some with your kids?? If I can find the time... So can u!
xoxo
velle
Sunday, August 23, 2015
DIY concrete plant pot
hubs and i did some DIY concrete stuff while the boys are asleep.
And one of them is this planter box which we made from a milk carton (outer layer) and a yakult bottle (inner layer).
Sunday, May 17, 2015
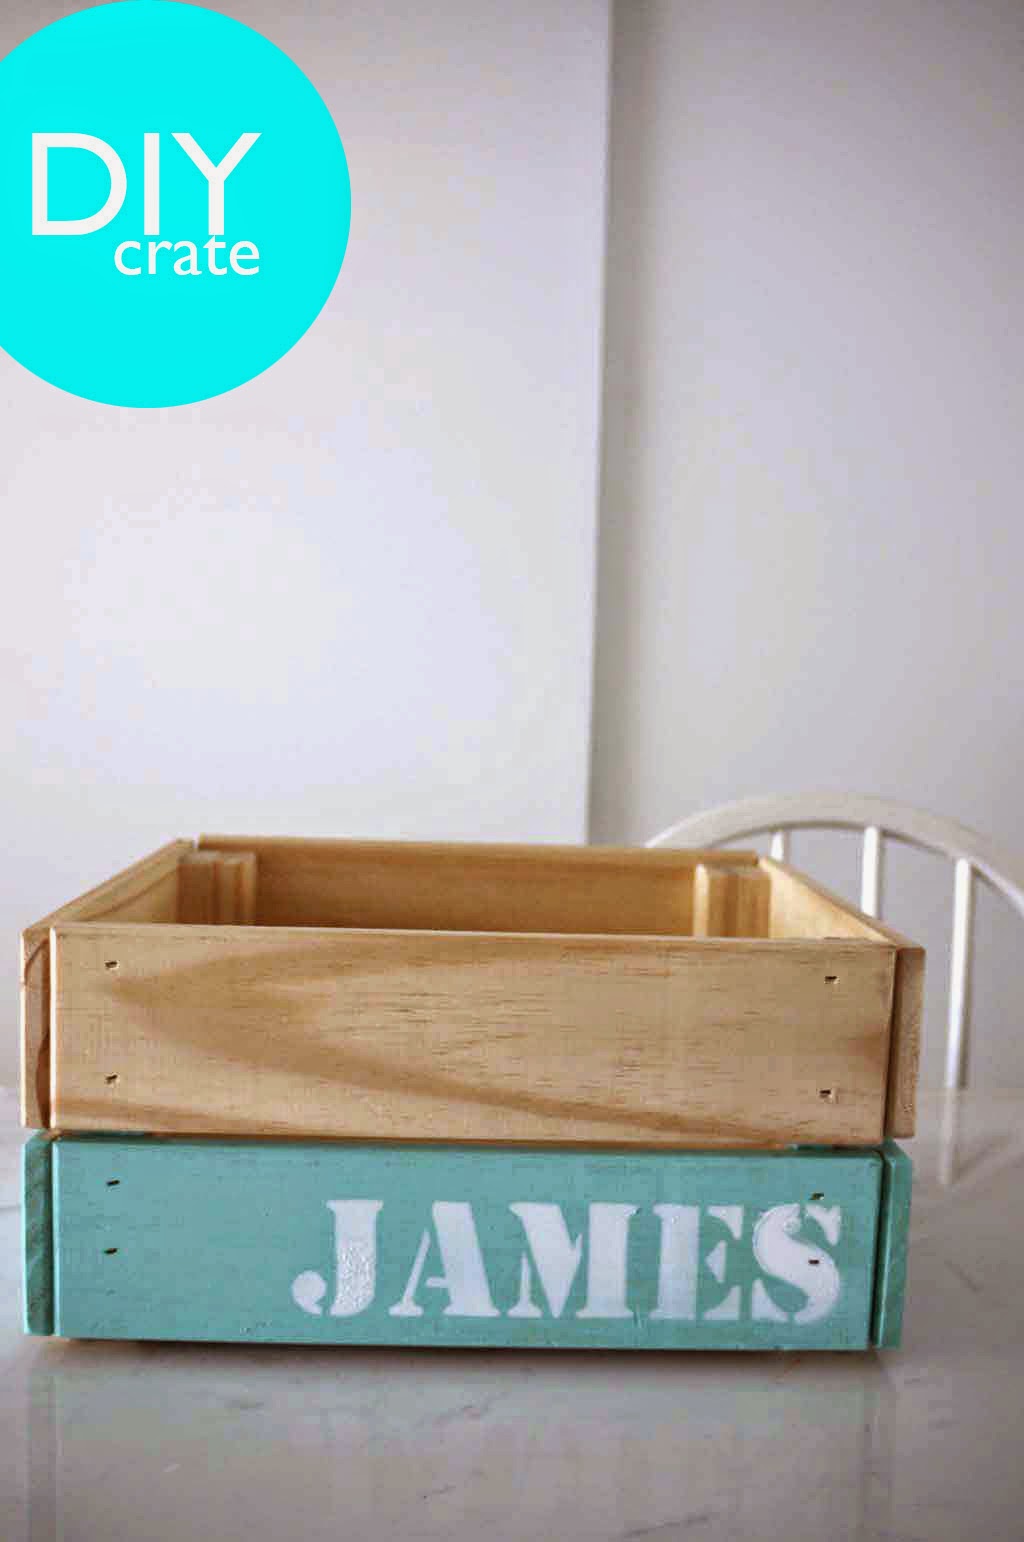
DIY - 2 tone box crate (just painting fun!)
What you need
- Printer to print the letters
- 2 cans of spray in 2 different colours
- penknife, ruler, spray mount, cutting mat
- masking tape
you can pop over here to take a look at the fun photos!
Labels:
DIY,
handicraft,
hobby,
home made
Wednesday, December 03, 2014
DIY - Xmas Paper Bag gifts
Nowadays, many mothers go to the extreme of preparing gifts and goodie bags for their children at school. And I'm not trying to outdone any mothers out there especially those SAHM who has more time as compared to me, but every other week, when my son gets a goodie bag from his friends, it makes me feel guilty for not doing anything on his behalf.
so.
this Christmas, I've made some goodie bags on my own to give away to his friends in school.
Hope the children love the sweets.
so.
this Christmas, I've made some goodie bags on my own to give away to his friends in school.
Hope the children love the sweets.
click here for the instructions.
xoxo
velle
Labels:
DIY,
handicraft,
hobby,
home made
Sunday, November 16, 2014
DIY - Bookmark calendars
making some DIY bookmark calendars for my home owners!!!
Hope they will like it just as much as I have enjoyed putting it together.
Sunday, November 09, 2014
DIY - Xmas brown paper goodie bag
Christmas is around the corner peeps!!
I'm starting to do up some Christmas goodie bags for the kids at school. And here's what I've come up with.
Things you will need:
1) brown paper bags which i bought from SKP
2) star stickers from Popular bookshop
3) green coloured paper from Daiso
Method:
1) I cut the green paper with the triangle lengths at 4cm.
2) fold the triangle into half
3) Gather 4 triangles which have been folded into halves and stick them together. And you have your tree!!!
4) stick tree onto paper bag, decorate with star sticker, draw the tree trunk with a brown marker.
5) And you HAVE YOUR VERY OWN XMAS goodie bag.
I'm starting to do up some Christmas goodie bags for the kids at school. And here's what I've come up with.
Things you will need:
1) brown paper bags which i bought from SKP
2) star stickers from Popular bookshop
3) green coloured paper from Daiso
Method:
1) I cut the green paper with the triangle lengths at 4cm.
2) fold the triangle into half
3) Gather 4 triangles which have been folded into halves and stick them together. And you have your tree!!!
4) stick tree onto paper bag, decorate with star sticker, draw the tree trunk with a brown marker.
5) And you HAVE YOUR VERY OWN XMAS goodie bag.
Labels:
daiso,
DIY,
handicraft,
hobby,
home made
Thursday, March 13, 2014
DIY Hot Air Balloon
As i mentioned in my previous post that I'm having a Hot Air Balloon theme as our dear James is Growing UP UP and AWAY!
here's a photo of my DIY Hot Air Balloon with my gear from Daiso and IKEA.
click here for tutorial
Labels:
daiso,
DIY,
handicraft,
home made,
ikea
Friday, March 07, 2014
DIY Cupcake Topper
We are serving cupcakes, a big cake and some sweets at the party table for James Baby Shower. I'm not preparing much sweets here because I'm having another table of catered food from Neo Garden for all my guests. Not everyone has a sweet tooth!
click here for tutorial
Thursday, March 06, 2014
DIY - Party Bags
This week I'm busy preparing all my party gear for James' up and coming baby shower.
The theme is Hot Air Balloon!!! It's gonna be decked in greens and blues, so look out for my DIYs.
click here for the tutorial.
xoxo
velle
Labels:
DIY,
handicraft,
home made,
James
Friday, January 24, 2014
Reno@Toa Payoh - DIY IKEA mirror hack
Hi there!
As we are doing the home reno for the Toa Payoh flat, I came across this really colourful mosaic mirror in one of the rooms and I thought it's such a pity to throw it away. But I'm not really a big fan of colours especially this one over here...and so.....this led to me going online to see what else I can do for this mosaic mirror.
So today I want to share with you....
a little DIY IKEA mirror hack which i found online and it's really easy to do!
Step 1:This is the "BEFORE" look of the mosaic mirror
Step 2: Tape all the sides of the mosaic with a masking tape.
Step 3: This is how it looks like at the edges after being taped up.
Step 4: Next you want to put a piece of paper over the mirror parts and make sure you cover all areas before you start spraying the colour that you like. For my case, i bought a metallic silver spray from HomeFix.
Step 5: After spraying, lay to dry and remove masking tape gingerly.
Step 6: Almost there already now!!!
Step 7: Here are some metallic silver flowers which i bought from Umbra.
Step 8: Here's how it looks closed up.
And I give you the final product...*beams*
I think it's so pretty now!
I hope Cath Kidston mum will like it and find a new place for it!!!
Sunday, January 19, 2014
DIY - Alphabet Sponge
Hi there!
Here's a DIY which i did over the weekend. Although it's non renovation or home interior related but thought it would be lovely to share with my readers especially those with young toddlers learning their ABCs!
I stole the idea online by searching for "Activities for 2 year old toddlers" and this was something which i found quite easy to do and hope that Jules will enjoy!
It's Alphabet sponge that can stick on the wall tiles or bath tub for your toddler to learn their ABCs while bathing and makes learning more fun too!
Things you will need:
1) ABC print out
2) Sponges ( i bought mine from Daiso)
3) sharp scissors to cut the alphabet
stay tune for Jules' bathing activity! Hope he likes his colourful ABCs!!!
fingers cross
velle
updates:
click! for Jules' bath activity with his DIY Alphabet sponge!
Here's a DIY which i did over the weekend. Although it's non renovation or home interior related but thought it would be lovely to share with my readers especially those with young toddlers learning their ABCs!
I stole the idea online by searching for "Activities for 2 year old toddlers" and this was something which i found quite easy to do and hope that Jules will enjoy!
It's Alphabet sponge that can stick on the wall tiles or bath tub for your toddler to learn their ABCs while bathing and makes learning more fun too!
Things you will need:
1) ABC print out
2) Sponges ( i bought mine from Daiso)
3) sharp scissors to cut the alphabet
stay tune for Jules' bathing activity! Hope he likes his colourful ABCs!!!
fingers cross
velle
updates:
click! for Jules' bath activity with his DIY Alphabet sponge!
Labels:
daiso,
DIY,
handicraft,
home made
Thursday, December 12, 2013
DIY - Snowman head
Each of our bay (in our office) were given 2 styrofoam balls to come up with a mascot snowman. So we were tasked to do the head!!!
here are our process photos.
hahaha...i had real fun putting on the blusher for our cute snowman!!!
Hubs did the mouth from felt pieces, he also did a cone shape nose from a parking coupon (yes! reuse, recycle and reduce!), while i went to Jules cupboard and got a baby cap, did a pompom from yarn and sew it to the top.
While hubs was sticking the dotty mouth on, I went to cut some red felt to do the mistletoe for the cap.
here are our process photos.
hahaha...i had real fun putting on the blusher for our cute snowman!!!
Hubs did the mouth from felt pieces, he also did a cone shape nose from a parking coupon (yes! reuse, recycle and reduce!), while i went to Jules cupboard and got a baby cap, did a pompom from yarn and sew it to the top.
While hubs was sticking the dotty mouth on, I went to cut some red felt to do the mistletoe for the cap.
![]() |
| ta-duh! Snowman head |
Sunday, June 09, 2013
Stirling HDB Terrace - DIY Morkt lantern ikea hack terrarium
Hi there,
Today i want to share with everyone here is a simple IKEA morkt lantern hack which is transformed into an open top terrarium!
Here are the things you will need
Step 1: find an open area. Lay your newspaper as you will get the floor dirty. Roll the plant pots on their sides so that it will loosen the soil and allow you to remove the plant easily and gently. You don't want to damage the roots.
Today i want to share with everyone here is a simple IKEA morkt lantern hack which is transformed into an open top terrarium!
Here are the things you will need
- IKEA morkt lantern
- Soil. For terrariums, you can either do a cacti with succulents or a tropical one with ferns but not both as they will require different soil compost.
- Bookshelf support or a wall hanger. I'm using the IKEA ekby hanger
- Small plants. I'm using cactus here.
Step 1: find an open area. Lay your newspaper as you will get the floor dirty. Roll the plant pots on their sides so that it will loosen the soil and allow you to remove the plant easily and gently. You don't want to damage the roots.
Step 2: Arrange all your plants neatly or the way you want it.
Step 3: Top up the sides with the additional soil as the lantern is quite big.
here's how it looks like after i have finished that night!
here are some day shots...
Subscribe to:
Posts (Atom)