Showing posts with label hobby. Show all posts

Sunday, May 17, 2015

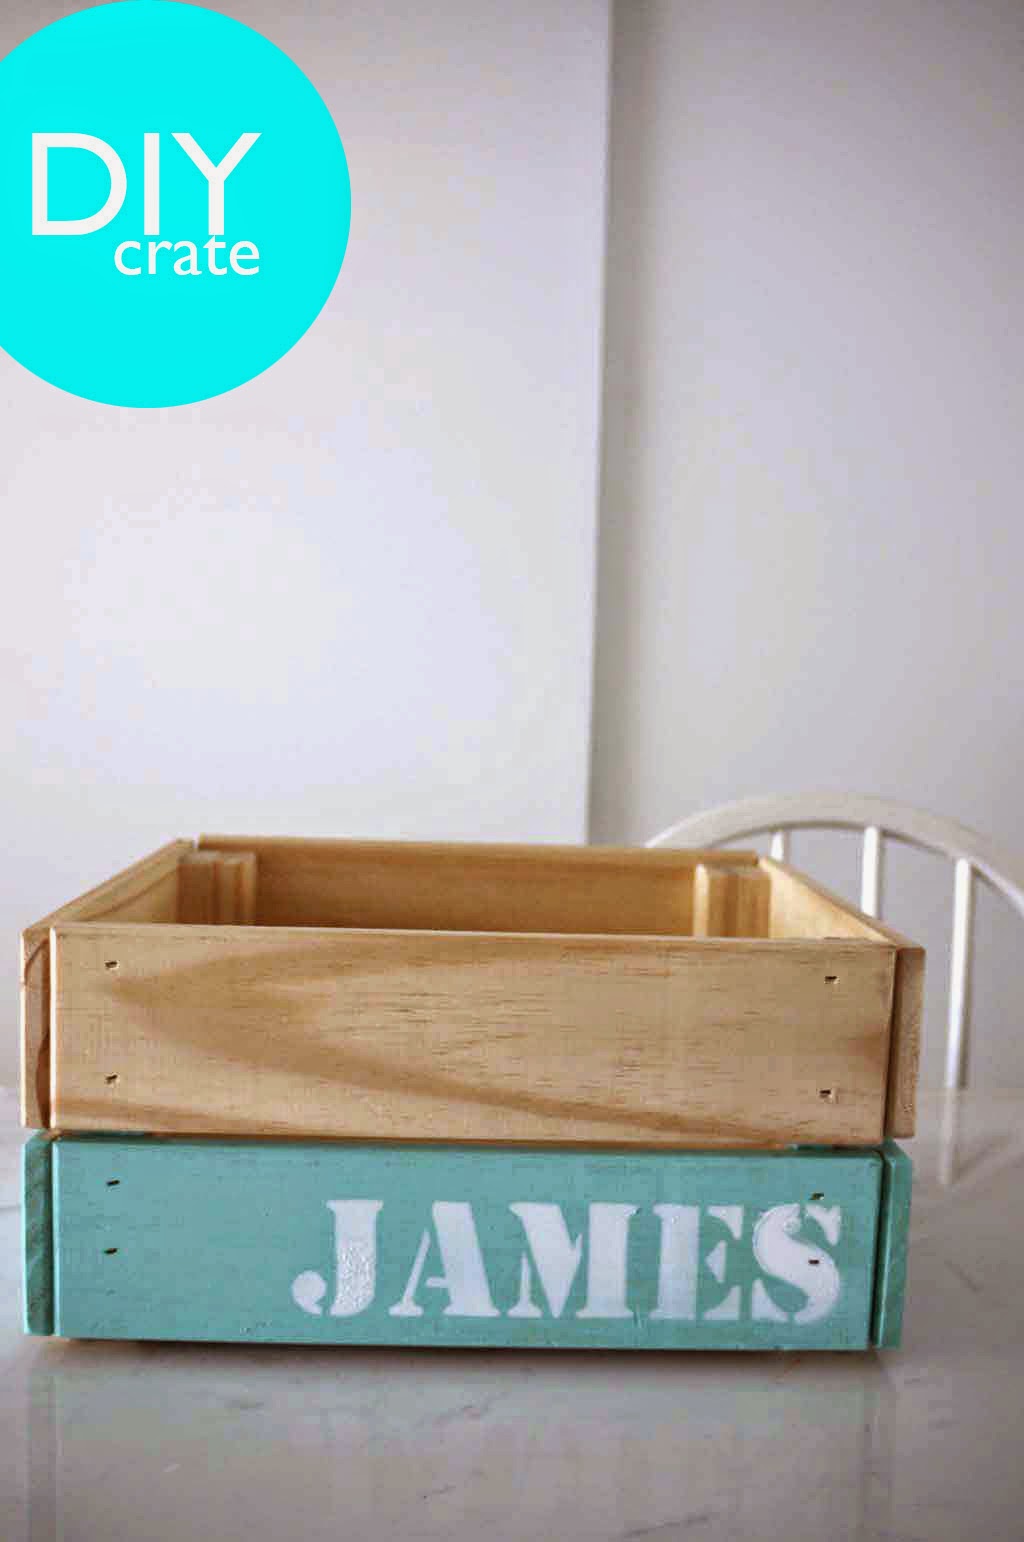
DIY - 2 tone box crate (just painting fun!)

What you need
  • Printer to print the letters
  • 2 cans of spray in 2 different colours
  • penknife, ruler, spray mount, cutting mat
  • masking tape
you can pop over here to take a look at the fun photos!

Wednesday, December 03, 2014

DIY - Xmas Paper Bag gifts

Nowadays, many mothers go to the extreme of preparing gifts and goodie bags for their children at school. And I'm not trying to outdone any mothers out there especially those SAHM who has more time as compared to me, but every other week, when my son gets a goodie bag from his friends, it makes me feel guilty for not doing anything on his behalf.

so.
this Christmas, I've made some goodie bags on my own to give away to his friends in school.
Hope the children love the sweets.


click here for the instructions.

xoxo
velle

Sunday, November 09, 2014

DIY - Xmas brown paper goodie bag

Christmas is around the corner peeps!!
I'm starting to do up some Christmas goodie bags for the kids at school. And here's what I've come up with.

Things you will need:
1) brown paper bags which i bought from SKP
2) star stickers from Popular bookshop
3) green coloured paper from Daiso

Method:
1) I cut the green paper with the triangle lengths at 4cm.
2) fold the triangle into half
3) Gather 4 triangles which have been folded into halves and stick them together. And you have your tree!!!
4) stick tree onto paper bag, decorate with star sticker, draw the tree trunk with a brown marker.
5) And you HAVE YOUR VERY OWN XMAS goodie bag.


Sunday, September 14, 2014

Home@Stirling - IKEA KALLAS seat bench for play area

I've sold my IKEA outdoor rattan chairs away and did a seat bench for my little boys. The seating capacity remains more or less the same and I gained more storage under the bench this way!! It's definitely a more storage seating solution for a new play area for the kids.

Above: Here's how it looked BEFORE and AFTER the seating bench is finally completed after weeks of procrastinating at getting the fabric and bringing it to a shop to have it upholstered.

And because I'm quite the shopoholic, although i went into the fabric shop knowing I only had one kind of fabric to buy, I ended up buying 3 different fabrics! One for the seating bench and 2 others for cushions. I'm really pleased with the origami japanese print one which I've customised a cushion cover for it. The other one is a really cute giraffe print which I haven't taken a photo of it here...perhaps another day.

At the shop I was really debating about whether to have a teal or a grey print for the seating bench. After a really really long while, I decided to get the grey one and I'm quite pleased it turned out ok. Guess I don't really want too many colours in the play area huh.


Here's a close up on the seating bench fabric which i had gotten. The baskets are from IKEA. Currently they are all empty!!! So i really have loads of storage space for toys in time to come.
Jules already trying out his new seating bench! He was really excited about it and he loved the window sill a lot. He makes believe that the window sill is a train track and he "choo choo"s his trains there.
Jules and his thomas train by the window sill
i wouldn't call it an IKEA hack since many people have already done it and the kallas shelving serves more or less like a storage solution and the whole thing was not totally transformed into something quite different, it's simply a KALLAS shelving unit with a cushy top. :)

So yeah.
Hope everyone enjoyed this little post on my home!

xoxo
velle

Thursday, June 19, 2014

GIVEAWAYS - DIY Animal topper food jars

During my confinement, I consumed many bottles of bird nest and chicken essence. A blessing from the many hampers which i received from loved ones. It was such a waste to throw the small bottles away and so I've decided to revamp, refresh and give them a new look!

I bought 2 packets of rubber animals from a mak-mak store, used a can of white spray. Seriously, my DIY cupboard is stored with quite a few bottles of spray paints! It comes in really handy when I have a crafty itch! Anyway back to my DIY animal topper food jars, so I sprayed the cap in white and stuck the rubber animals on with UHU glue and here's how it turned out!

I gave the whole box away for a charity fun fair at the ASSISI Hospice over last weekend.

Were you one of them who bought these food jars for your child?

xoxo
velle


more photos to share!


DIY Wood Plaque

Saw this wood plaque at a local store and wanted to buy it for one of our newly renovated homes but was stopped by hubs because he thinks we can do it ourselves despite our busy schedule. And it took us about 1 month to finish this!! even though it's merely a few steps. hah! I'm glad we finished this little pet project of ours.

Things you need
1) a computer to type the words out and printer to print
2) art card or soft cardboard
3) ruler, penknife, cutting mat
4) Spray mount
5) masking tape
6) newspapers
7) a can of black and white spray 
8) a plank of wood

item (1) took me 10mins to do and print
item (8) took me a few trips up and down to source for the right size and price

I had hubs to cut the wood to the right size one sunday. Took him about 10mins, but setting up his jig saw and extension wire cord, getting his pencil, ruler took him another 10-15 mins to set up.

Spraying the wood black took me 1 sunday afternoon (approx 5 mins). I sprayed the wood black on one side, dry and flipped to spray the other side.

Cutting of the text took me half an hour one night after the boys were asleep. Phew!

I spent another night after the boys were asleep, spray mount and masking taped the sides of the art card to the wood. Once it's tightly taped, I sprayed the text with white spray.


voila!
my finished work.
Monday, June 09, 2014

DIY - Concrete Plant Pot

 Hi there.

it's me updating on my latest craze material for my DIY projects- concrete!
This week I'm doing a concrete plant pot using my detergent bottle as the base mould and my son's favourite Meiji yoghurt cups for the indents. Here's how.

you will need:
1. one large mould for the base. For this I'm using my dynamo detergent. Cut the bottom, leaving about 6 inches thick.
2. yoghurt cups. Or any other cups. Some folks online uses their children's playdoh cups. I'll use anything as long as they are bigger than the tealight candle's base.
3. pot for stirring concrete mix
4. stick to stir the concrete mix

after 4 days of drying, hubs had to use pliers to pry open the mould. no easy feat. the plastic was damn tough. And the succulents are from IKEA. $2.90 per pot.

thanks for dropping by my concrete DIY project 
and 
hope your Monday went well!

Sunday, May 25, 2014

DIY Concrete Tealight Holder


For the base mould, I'm using a plastic cup and for the inner mould, I'm using a yakult bottle. Thanks to my son Jules who loves Yakult to bits and drinks a bottle every other day. So I kept most of his Yakult bottles for this DIY project.
Above: Here's how they look like...all set to dry. As our Singapore weather is rather humid, mine took about 4 days to be fully dried out.
Here's how they look after we pried them out from the moulds.


i actually like the "bubbles" at the bottom of the tealight holders. I read online that if you do not like the bubbles effect, you will need to tap the concrete mixture when it's settling in the cup/mould to remove the air bubbles.

Friday, May 23, 2014

DIY - 3x3 project frames


yes i know. it's almost 3am in the morning and I've just given James a nightcap. But I'm so excited with my new pet project which has been spinning in my head for the past week. One of my client was asking me whether do I have any recommendations to brighten up her wall. So I've been scouring the internet for images to do up a photo collage wall yet not looking at a specific theme. Here are some photos of the collage which I have just put together in this morning's wee hours.

the whole project sounds quite abstract.

what i had in mind was something colourful. non gender specific. apt for a couple.
I found a few images of what I thought reminded me of her and her partner and organised it into a folder. Head down to my favourite furniture mall, bought the frames. Next I called on hubs to give his second opinions out of the list of images. we zoomed down to 10, photoshopped to the right size and finally printed it and framed all 10.

hee.
i'm quite pleased with the way it turned out.

xoxo
velle


LinkWithin

Related Posts Plugin for WordPress, Blogger...